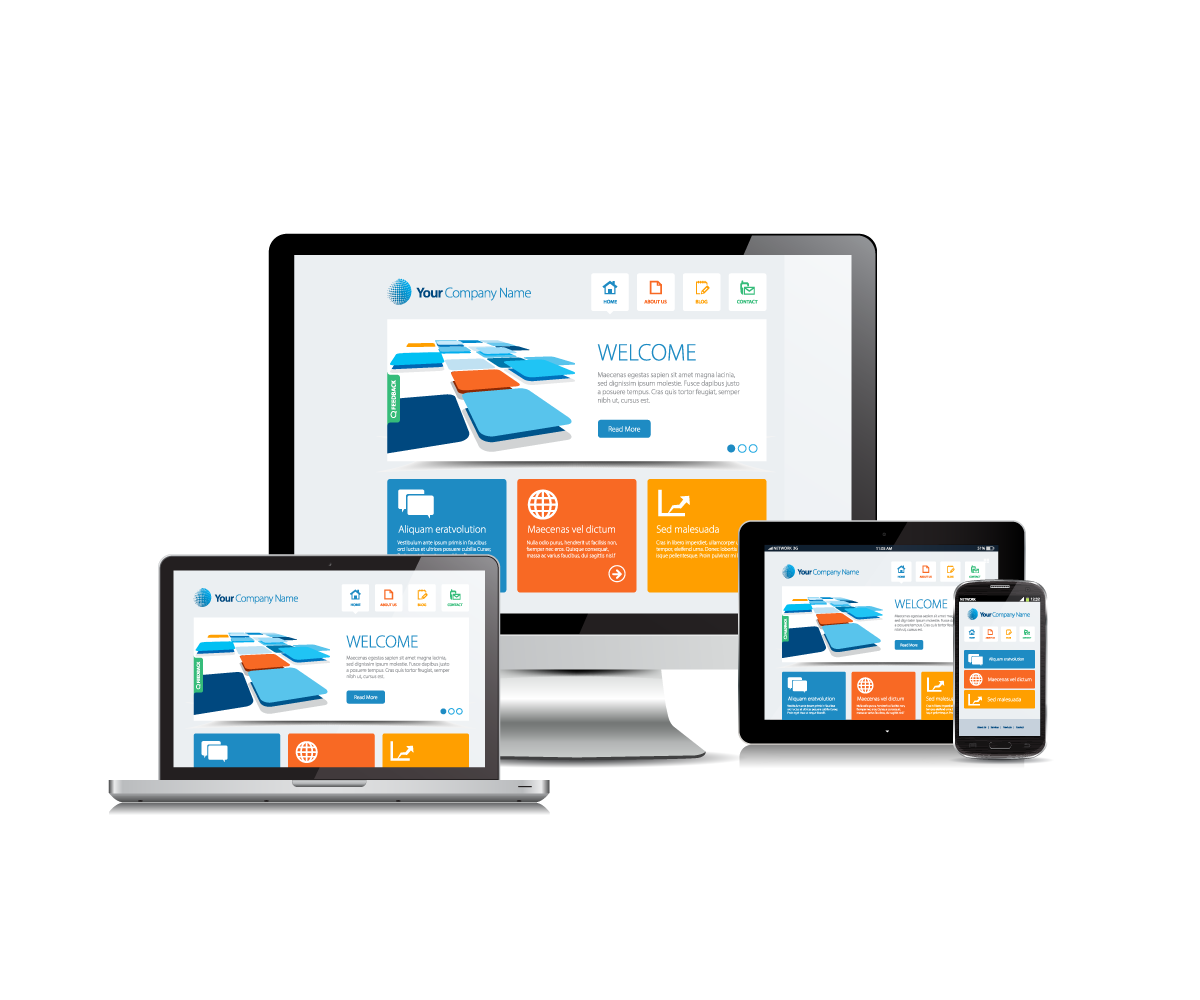
LekkiHost Shared Hosting Service
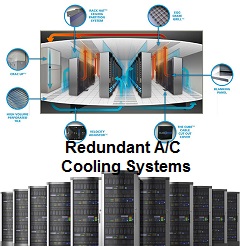
With our shared advanced hosting packages, we allow customers to "share" the high costs of running high-maintenance server which implies high security cost, & reliability or performance cost.
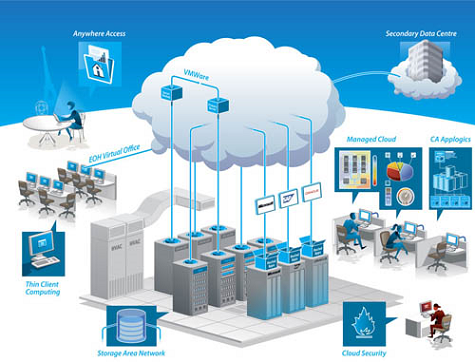
All PLANS come with Solid State Drive (SSD), cPanel, Own CGI-Bin, Unlimited Email Accounts, PHP 4/5/5.3x, 5.4x, 5.6x, phpMyAdmin, Unlimited MySQL5 Databases, Perl/Python/Ruby On Rails, Apache 2.2x, Softaculous (WordPress, phpBB, Joomla, LimeSurvey, zencart, OpenCart, PrestaShop, Drupal, Magento, SMF, PHP-Fusion, Magento, Dolphin, and lots more.), Cron, Curl, GD Library, Email Manager, Mailing List, Spam Filtering, Webmail, MIME Types, File Manager, Advance Spam/Virus Protection, Hotlink & Leech Protection, SSH on Request, GNU Multiple Precision Arithmetic Library (GMP), Let's Encrypt, etc.
Get More Details...